- Mik Bromley
- Aug 4, 2025
- 5 min read
Updated: Oct 8, 2025
ℹ️ - Death Stranding 2 Lighting Guide
Developer: Kojima Productions
Publisher: Sony Interactive Entertainment
Platform: PS5
Initial Release: 26th June 2025
Digital copy provided by Sony Interactive Entertainment
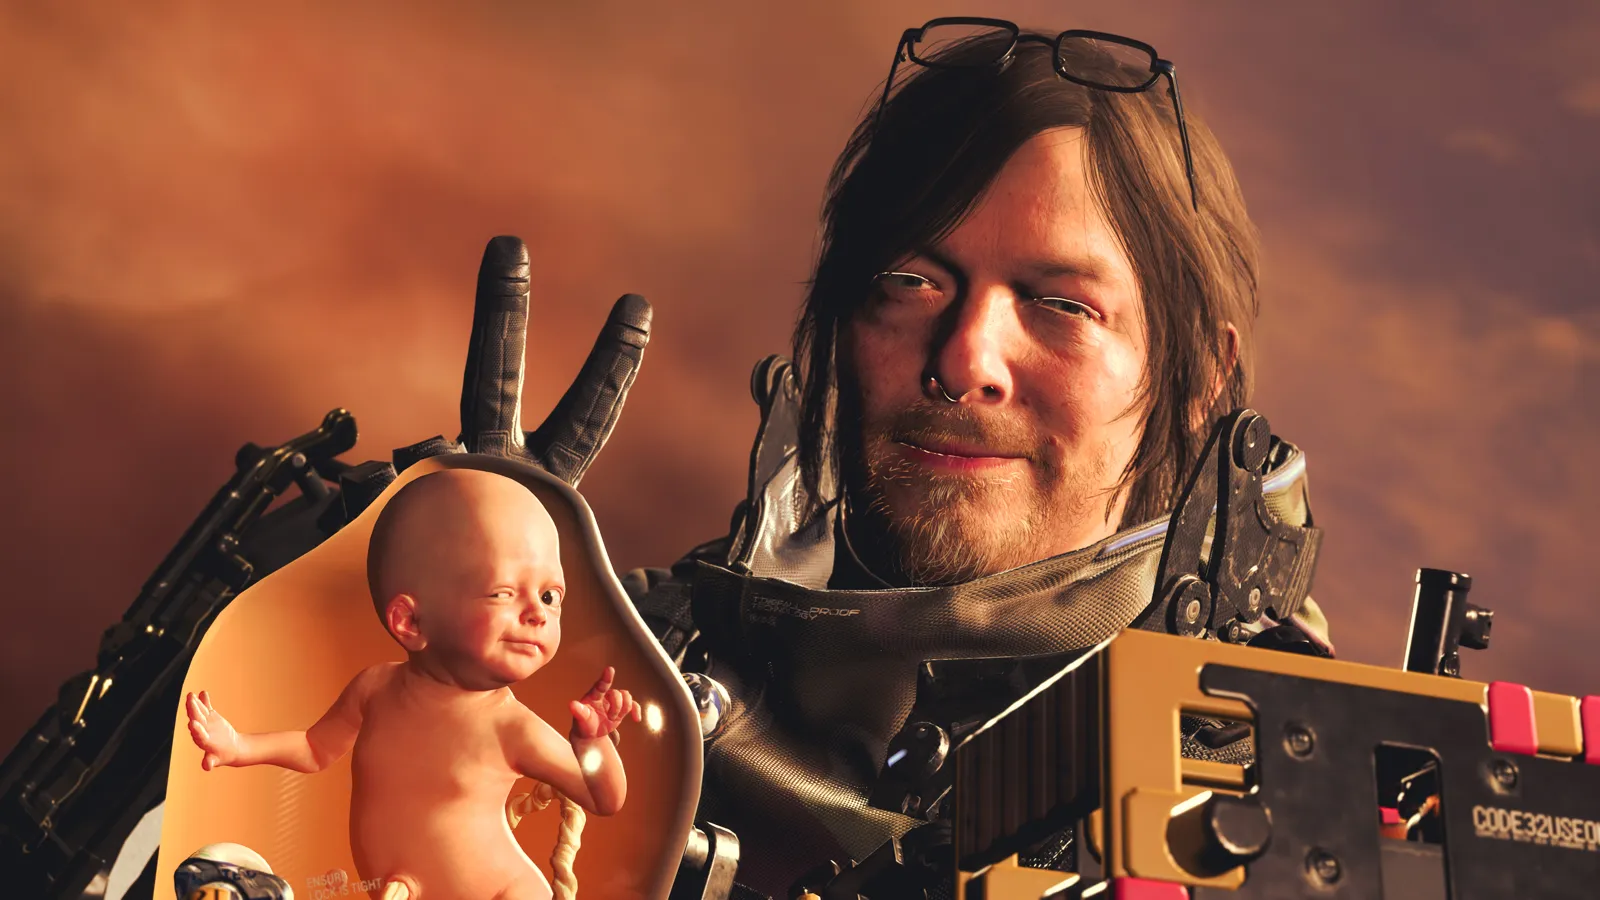
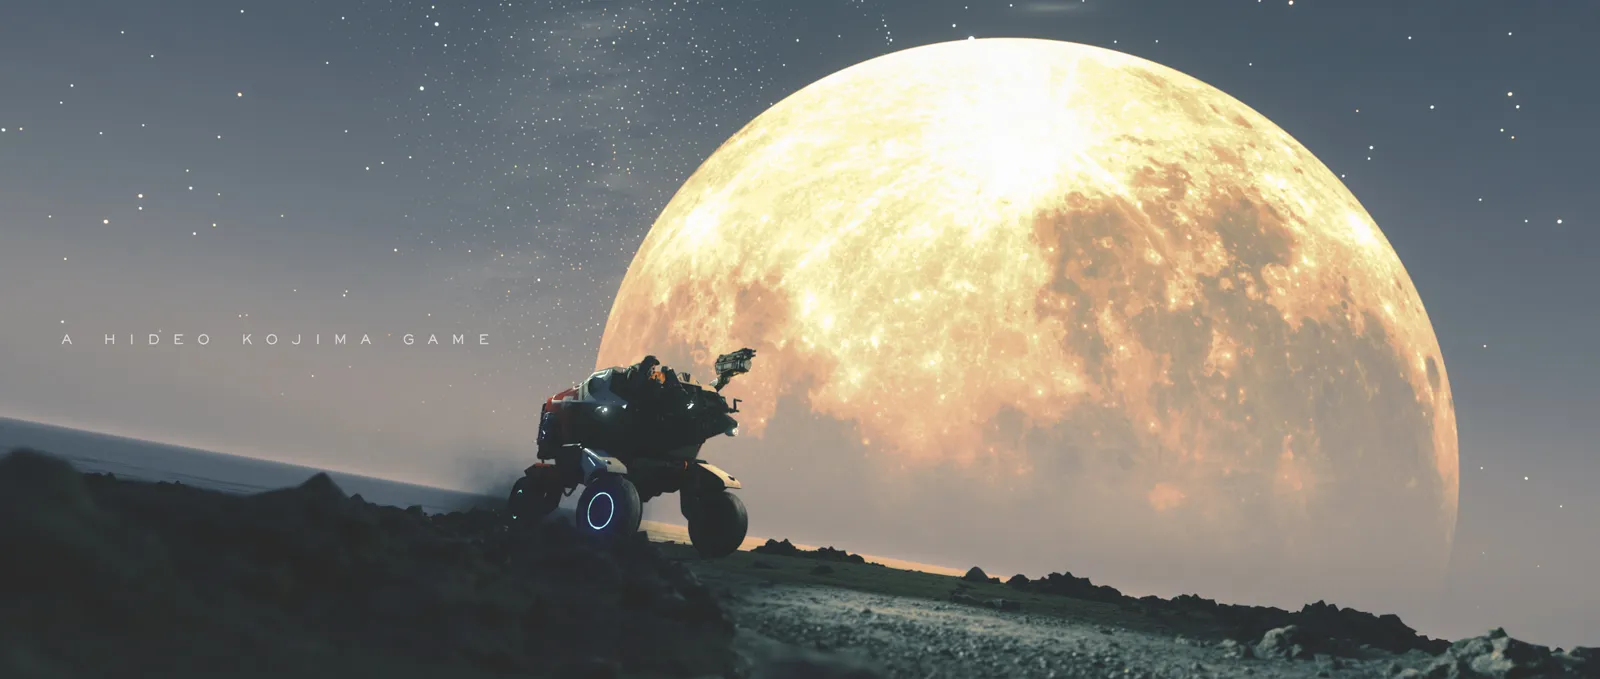
As soon as the stunning intro transitions from cinematic to gameplay, invoking memories of the equally impressive opening scenes in Metal Gear Solid 4, it's clear that Death Stranding 2: On the Beach has some serious lighting credentials. This is demonstrated across many of the game's landscapes and in its variable time of day and is also echoed in the photo mode.
A full 3-point lighting setup is easily the biggest upgrade to the built-in photography tools, though fully understanding how they work is key to getting the best out of them. This guide will explain every feature then, to help you do exactly that.

Light Positioning
To position any of the 3 available lights, they must first be activated: simply select Light 1, 2, or 3 and toggle the On / Off switch. Each light initially appears just over Sam's shoulder and can be moved around him in a circular orbit.
The UI shows the path of this orbit as a feint blue ring around the character and pushing the LS to the left or right will move the light along it in an anti-clockwise or clockwise direction respectively. Pushing the LS up or down meanwhile changes the radius of the orbit to alter the light's distance from Sam.
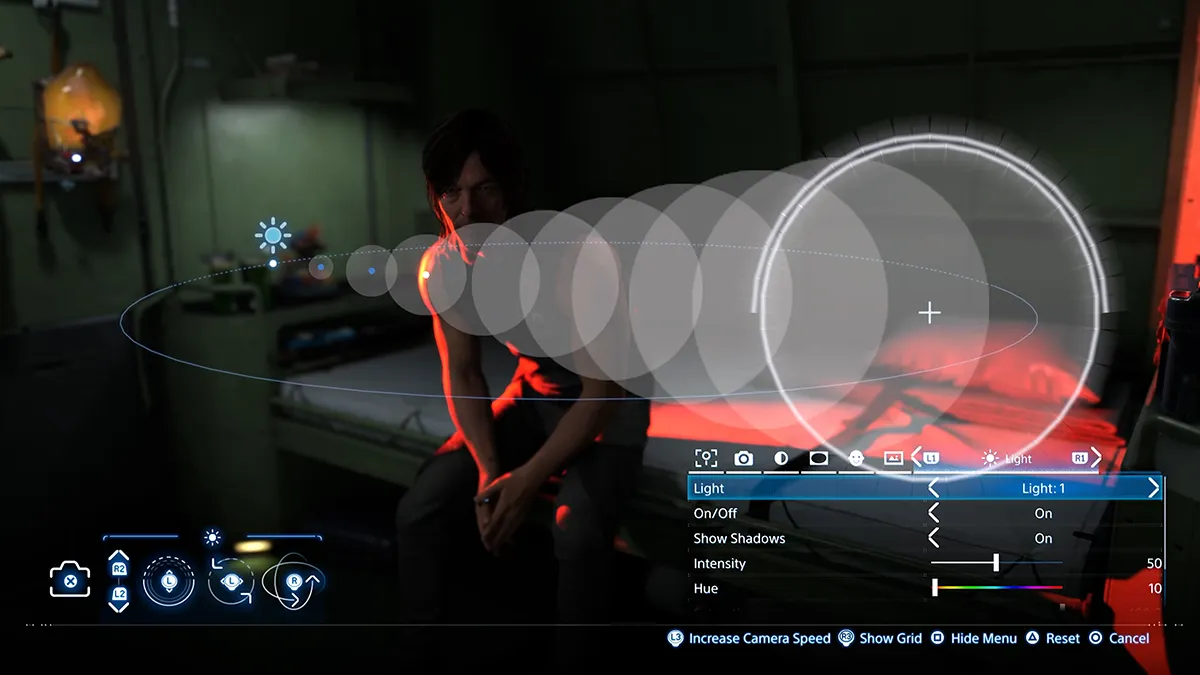

Of course, you can also adjust the vertical position using the L2 / R2 triggers. Notice that the whole UI including the lighting rig itself and the orbital ring are moved up and down as you shift each light to a higher or lower position.
Lighting Direction
Unlike in some other photo modes, the lights here are directional spots meaning that they shine in one specific direction rather than all around them. The UI helps with this by showing a series of emanating circles that depict the beam's cone of light. Or at least it tries to.
In truth, the constant pulsing of these circles actually obscures the view of the true lighting effect on the subject, and their perspective can sometimes be deceiving. Seeing as the lights cannot be adjusted without the UI being visible though, you'll have to get used to it and they do help to indicate which way a light is facing as you adjust it with the RS.
With full 360° control over both the horizontal and vertical axes, there is no limit on which way each light can be aimed. Whether directly towards the character or onto objects elsewhere, it is possible, it just has to be done from within the confines of the orbit ring.
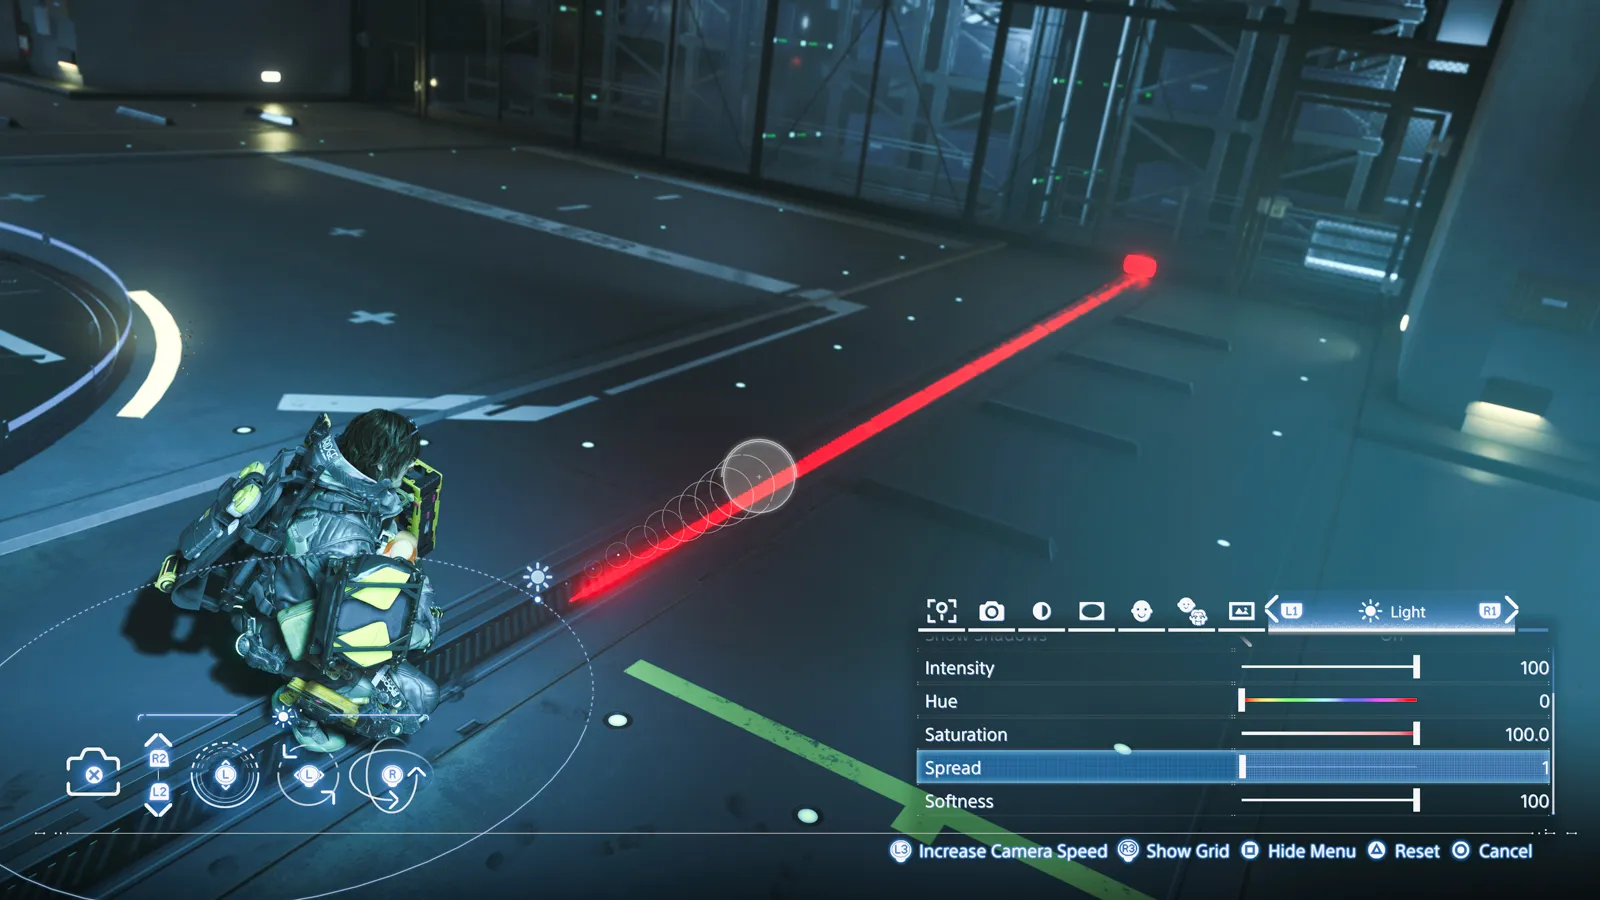
Intensity & Spread
The brightness of each light is controlled with the fairly self-explanatory Intensity option. As you'd expect, higher values produce a brighter and more intense light, and lower values produce a softer glow. Keep in mind too, the fact that the intensity of light falling onto a subject drops off with increasing distance, so you may need to boost the intensity of lights that are positioned further away to see their effect.

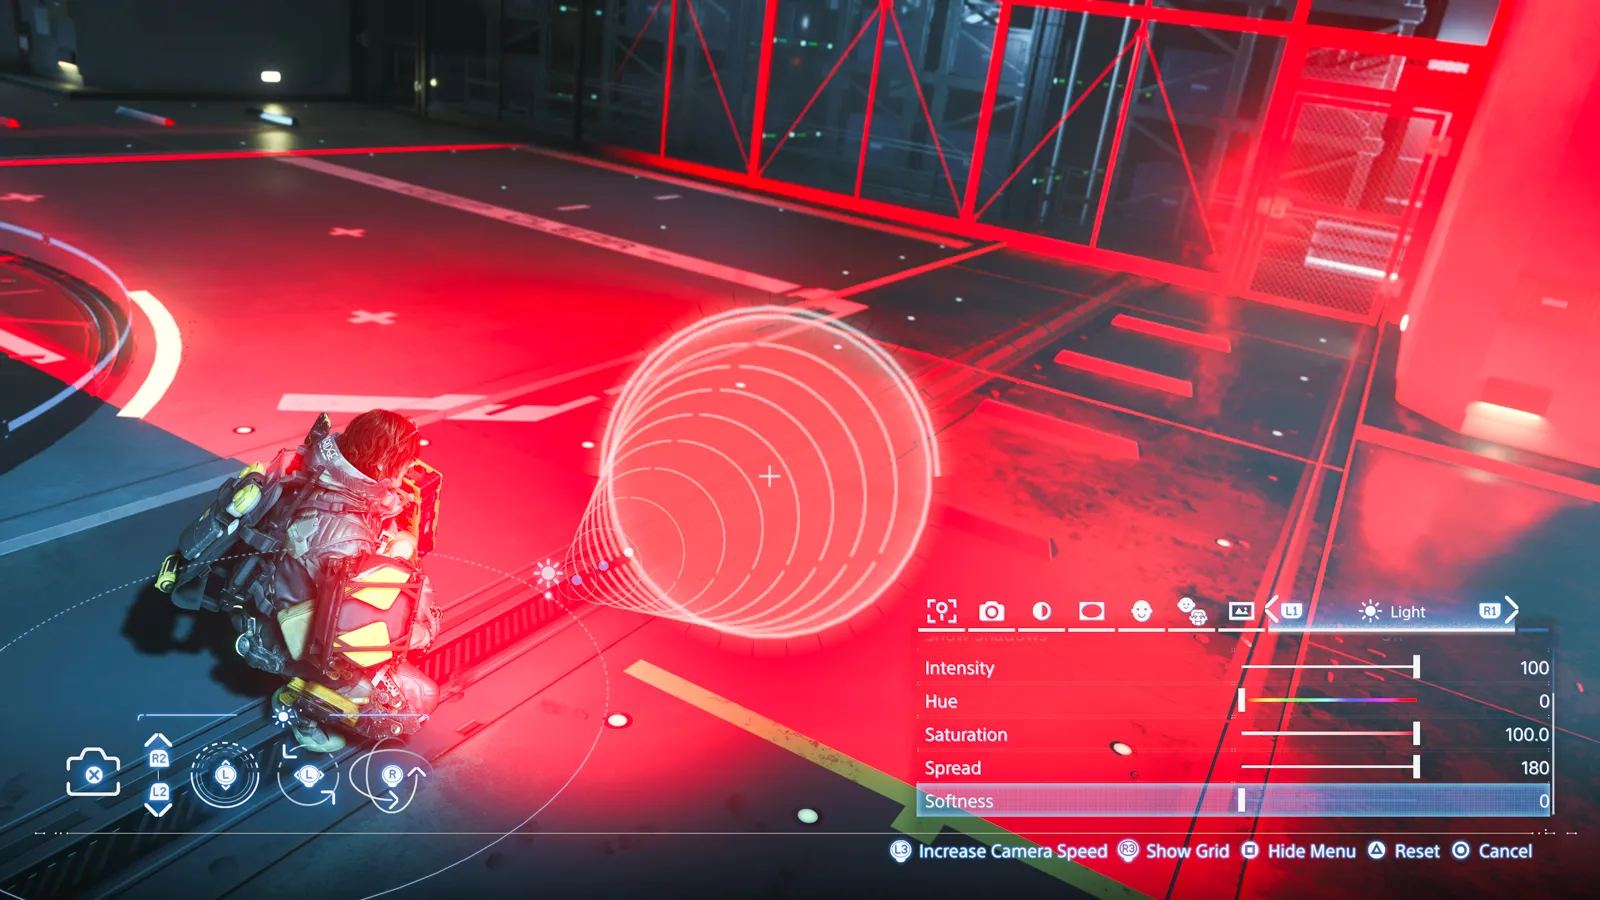
Also relevant here are the Spread and Softness settings which control the size and harshness of the cone of light. Reducing the Spread narrows the beam down to a small, circular spot while increasing it widens the beam angle up to a maximum of 180° that casts light to both sides as well as straight ahead.
This is most obviously demonstrated by setting the Softness to 0: the resulting hard edges show precisely where the beam angle stops. A hard edge like this can find some creative uses with very deliberate use of light and dark, while a more graduated edge set with an increased Softness value gives a more natural effect.
Colour Saturation
All of the 3 custom lights can be set to white or fully coloured and, with their individual settings, used in a mixed combination of each. The default setup is actually pure red light at 100% saturation with the colour being easily shifted through the full spectrum using the Hue slider.
It's perfectly simple to choose a colour from the indicator bar while 360 numerical values also ensure that you can reselect the same colour to match lights exactly. To fade the chosen colour to something more subtle, just decrease the Saturation value. This reduces the intensity of the colour in the light without affecting its brightness.
Fairly obviously, setting this to 0 removes all colour for a clean white light, though it can sometimes be worth keeping a small amount of yellow or blue in there to act as a white balance.

Shadows
The majority of the time, you will be best off keeping the Show Shadows option enabled. This will ensure that the lights will generate their own shadows from the things they shine onto for much more authentic behaviour. That is particularly the case with portraits where turning the shadows off will lead to light appearing in all manner of places that is simply shouldn't be.
So, is there any reason to ever turn them off? Actually yes, mainly when casting broad lights onto the scene itself. Disabling the feature can be helpful to avoid creating multiple shadows on the ground around a subject, and it seems to better illuminate fog and dust for a more volumetric effect.

3-Point Lighting Setup
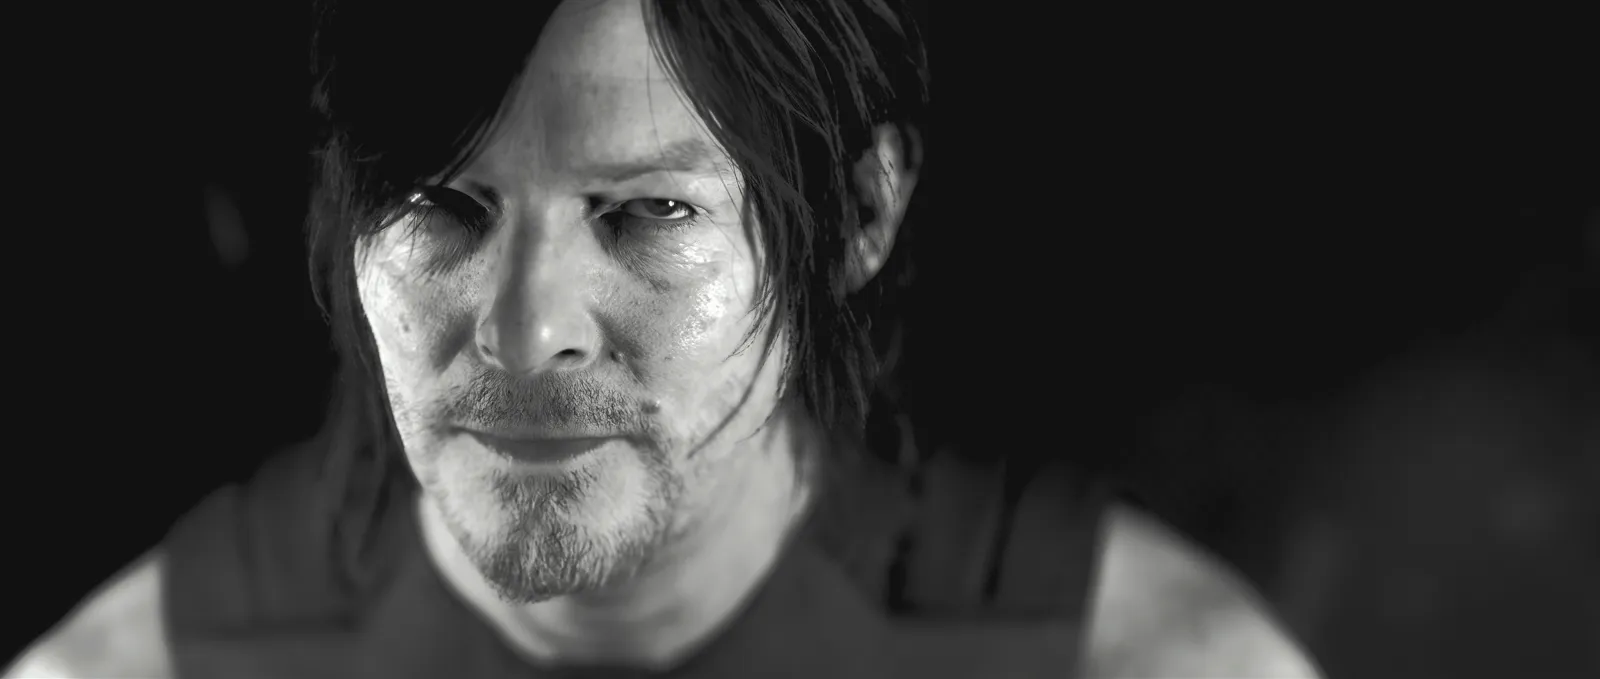
Seeing as the custom lights in Death Stranding 2 are locked in an orbit around Sam, it is pretty clear that they were made with character portraits in mind. They certainly are effective in that regard, and it is easy enough to position a key light to cast the primary illumination across the face, a fill light to lift the resulting shadows, and a back light to add a defining rim or some extra highlight details.

Play around with the position and direction of the key in particular to create different emphasis, or perhaps try other techniques such as lighting evenly from both sides in a butterfly / clamshell setup.
Despite that portrait bias, there is enough flexibility here to use the lights in other ways too. Subtly enhancing the ambient light for example, or creating volume with atmospheric particles, and don't forget vehicles either. Adding a highlighted edge along the outline of a truck can really help to define its shape, and a light or two placed at the front is an easy way to exaggerate the fairly dim headlights.
However you choose to use them, these custom lights can have a great effect on your shots. Whether powerfully or subtly, that's up to you.


Subscribe to the regular newsletter for all the latest features from TheFourthFocus.com


