- Mik Bromley

- Jul 13, 2024
- 9 min read
Updated: Jul 16, 2024
ℹ️ - Alan Wake 2: Photo Mode Explained
Developer: Remedy Entertainment
Publisher: Epic Games Publishing
Platform: PC, PS5, Xbox X|S
Initial Release: 27th October 2023
Played on PS5 with a digital copy provided by Remedy Entertainment
Alan Wake 2 is one of those games that deserved to have a photo mode right from the start. The atmospheric horror has an outstanding visual style to match its unique storytelling, but Remedy made us wait, even despite the enduring popularity of Control with in-game photographers.
The new photo mode was worth waiting for though and Alan Wake 2 benefits from a much more comprehensive photographic setup than the one we saw in Control. As always, understanding how it all works is the first step, so here is the Alan Wake 2 photo mode explained from my perspective as a photographer to make it easier for you to capture great shots.

Presets
After finding your way into the photo mode via the pause menu – there is no shortcut button sadly – the first thing you'll actually find is a list of 5 preset modes. These change several other settings in the photo mode to set up the camera for a specific type of shot.

Landscape:
Equips a 16 mm lens for a wide-angled field of view, along with an aperture f-stop value of f/11 and focus distance of 50 m for a deep depth of field. As the name suggests, this preset is ideal for shots of the environment with a lot of the scene kept in sharp focus.
Portrait:
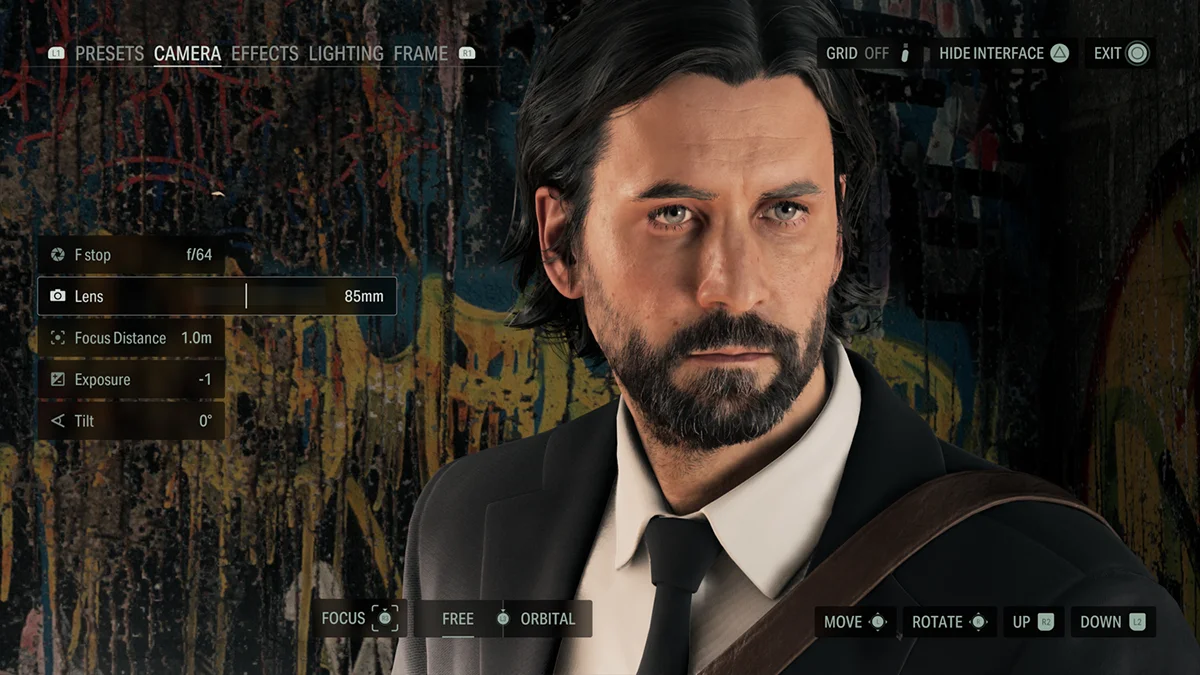
Another clue in the name, this preset recreates a setup typically used by real world portrait photographers. An 85 mm lens offers you a much narrower field of view to help isolate the subject, and a wide-open aperture f-stop of f/1.0 gives a very shallow depth of field with a soft, blurry background. The focus is set to 3.0 m which is a bit too far for my preferred framing at 85 mm, but that can obviously be tweaked with the manual settings.

Macro:
Increases the lens focal length to 100 mm while setting the aperture to f/0.4 and focus distance to 1.0 m for close-up shots with an ultra-shallow depth of field. This preset will probably just give you an entirely blurry image at first, but you just need to move the camera closer to the subject to find the focus.
Evidence Photo:
This uses a fairly "normal" camera lens setup at a focal length of 50 mm and f/8.0 aperture but combines it with the Polaroid frame to give the look of an instant camera photograph. The camera flash is also activated to give bright illumination of nearby subjects, or indeed victims!
Alice Photo
The final preset relates to the game's story by using the Alice Photo frame and Dark Presence filter to recreate the inverted B&W style of Alice Wakes photographs of The Dark Place.

Camera
Camera Movement:
Remedy have included two separate camera movement modes with the first being a completely free camera that is moved forwards, backwards, left, and right using the LS and turned through full 360° pan & tilt with the RS. The L2 / R2 triggers move it vertically up & down, while a full range of roll is available on the Camera tab of the UI. In this mode, the camera has a large range of movement, just be aware that collisions can be a problem and you might find the camera getting stuck occasionally.
A click on L3 toggles the camera to the optional orbit mode in which it will always aim towards the playable character as it moves around them in a circular orbit using the RS. Though the camera position can be offset slightly with the LS, this is naturally a more restricted mode but can be a handy way to explore different portrait angles.
Lens:
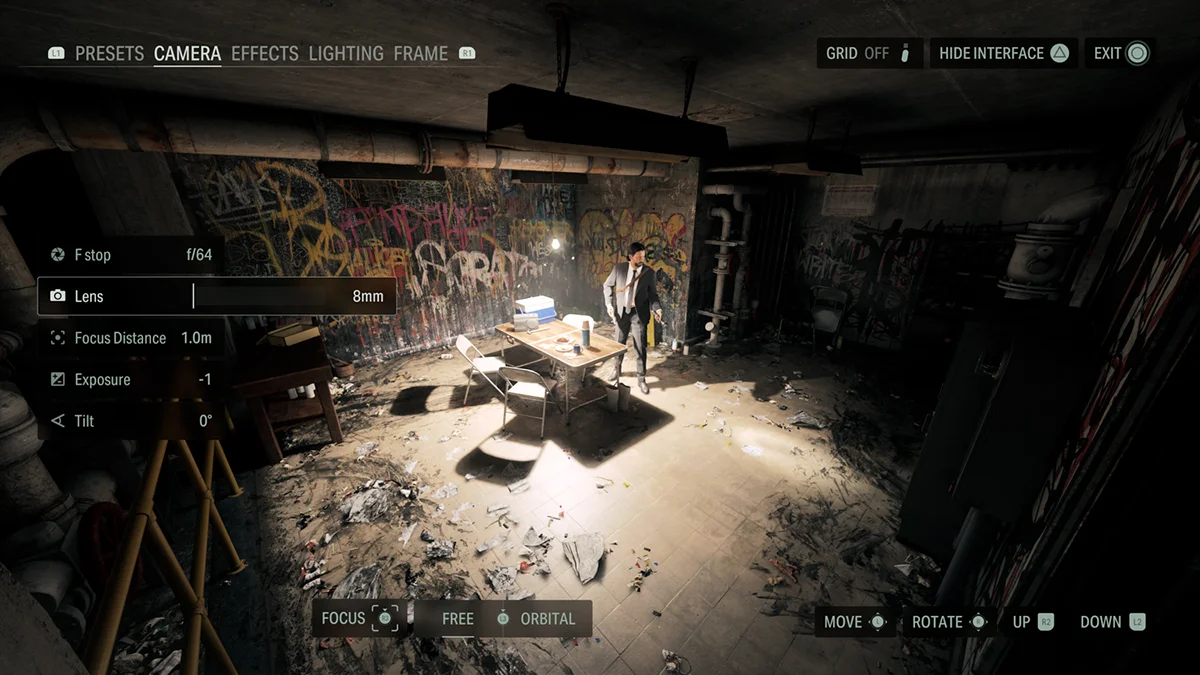
This is the camera's zoom and changes the visible field of view. A shorter lens length provides a wide angle that will take in more of the surroundings but also cause greater perspective distortion. A long lens zooms in, narrowing the field of view and compressing the perceived distance between the foreground and background and isolating the subject.
F-Stop:
Controls the depth of field, i.e. how much of the scene appears in acceptable focus and is given in aperture f-numbers. These behave just as they do on a real camera lens with smaller f-numbers like f/1.0 simulating a wide aperture with a shallow depth of field and stronger bokeh blur, while a larger f-stop like f/14 simulates a small aperture with a much deeper depth of field that keeps more in focus.
Focus Distance:
Focus itself is set with a distance value that moves the point of sharpest focus closer to or further from the camera, obviously to focus the camera at the correct distance to the subject. It's worth noting that the depth of field at any fixed f-stop value is most shallow when focusing on closer objects and much deeper when focusing further away.

TIP: you can make additional fine adjustments to the focus by carefully moving the camera forwards or backwards at a fixed Focus Distance setting...
Auto Focus:
Auto focus is also available by clicking R3. This will try to snap the focus onto a central subject and can be useful to get an approximate focus as you move the camera around. In my experience though, it is not very reliable, and you will get better results by focusing the camera manually.
Exposure:
Affects the brightness of the image using a scale from -3.0 to +3.0 with negative values making it darker and positive values making it lighter. Pay particular attention to the way that this setting has a strong effect on the highlights and creates a broad bloom that spreads outwards around bright light sources.

Effects
Filter:
A lengthy list of post-process effects is headed-up by 6 colour filters that mainly offer subtle changes that shift the atmosphere of an area rather than dramatically altering the colour. The one exception is the Dark Presence filter which applies an inverted B&W style.

Contrast:
Adjusts the difference between dark shadows and bright highlights. Low contrast values flatten the luminosity of the image and shifts everything towards a neutral grey while higher values produce an image with stronger blacks and brighter whites.
Brightness:
This gives another way to change how bright the image is and behaves in a different way to the camera exposure. Whereas Exposure has a greater influence on the highlights, Brightness affects the whole image equally by shifting shadows, midtones, and highlights together. A low Exposure with high Brightness can lighten a shot without blowing out light sources or causing too much bloom.

Saturation:
Changes the strength and intensity of the on-screen colours. Increasing this will make colours stronger and more vivid, decreasing it will make colours more muted, and a value of 0 will result in a pure B&W shot.
Lens Distortion:
Applies a stretch / pinch effect to the image to give an exaggerated sense of an imperfect optical lens and causing straight edges to appear curved. Unlike other settings here, 50 is the neutral value where no distortion is applied and moving it either up or down will add an increasing amount of barrel or pincushion distortion to the image.
Vignette:
Applies a darkening effect around the outer edges of the frame, becoming more opaque and closer to the centre as the value increases. This can be used to replicate the light drop-off that occurs in some camera lenses, or as a more deliberate artistic style that directs attention towards a central subject.
Film Grain:
Adds a grainy texture to the image to simulate the look of photographic film. Use low values for a cleaner shot, or higher values to increase the amount of visible grain. It's usually best not to overuse grain, though the right amount can make low-light shots appear much more natural and authentic.

Radial Blur:
This is another effect that is applied to the outer edges of the image with a motion-like blur spreading outwards from the middle. This unusual effect can give the impression of forward motion or may just be used to draw the attention to the centre. As usual, a higher number here results in a stronger effect.
Fogginess:
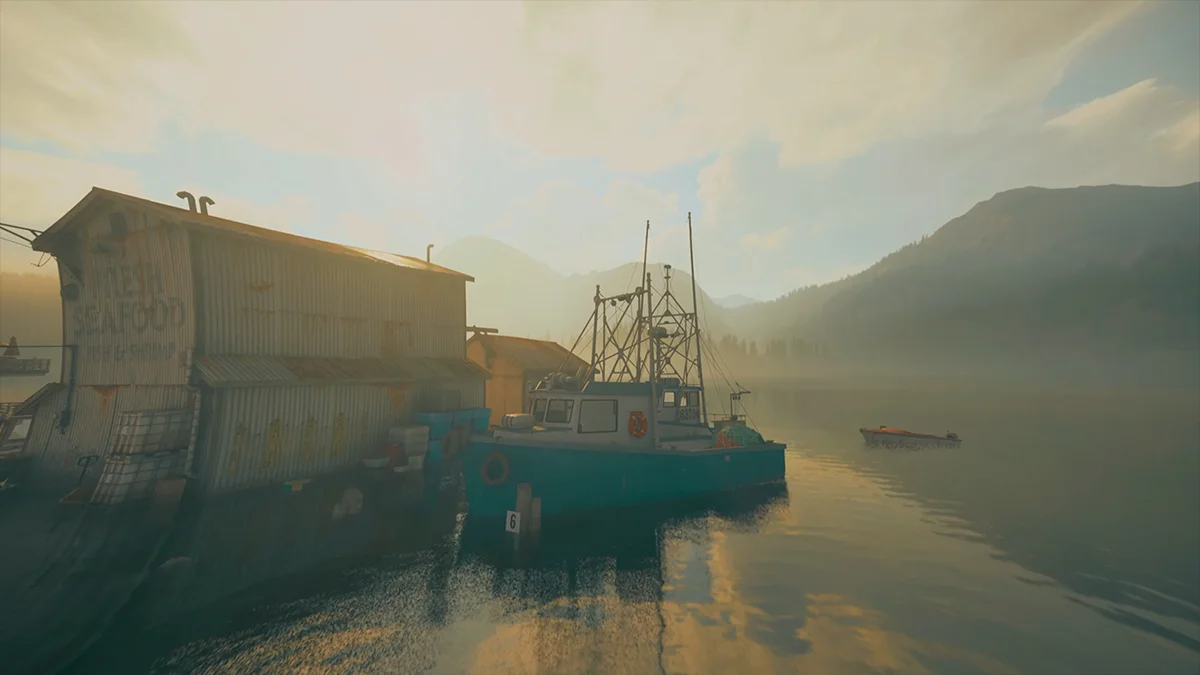
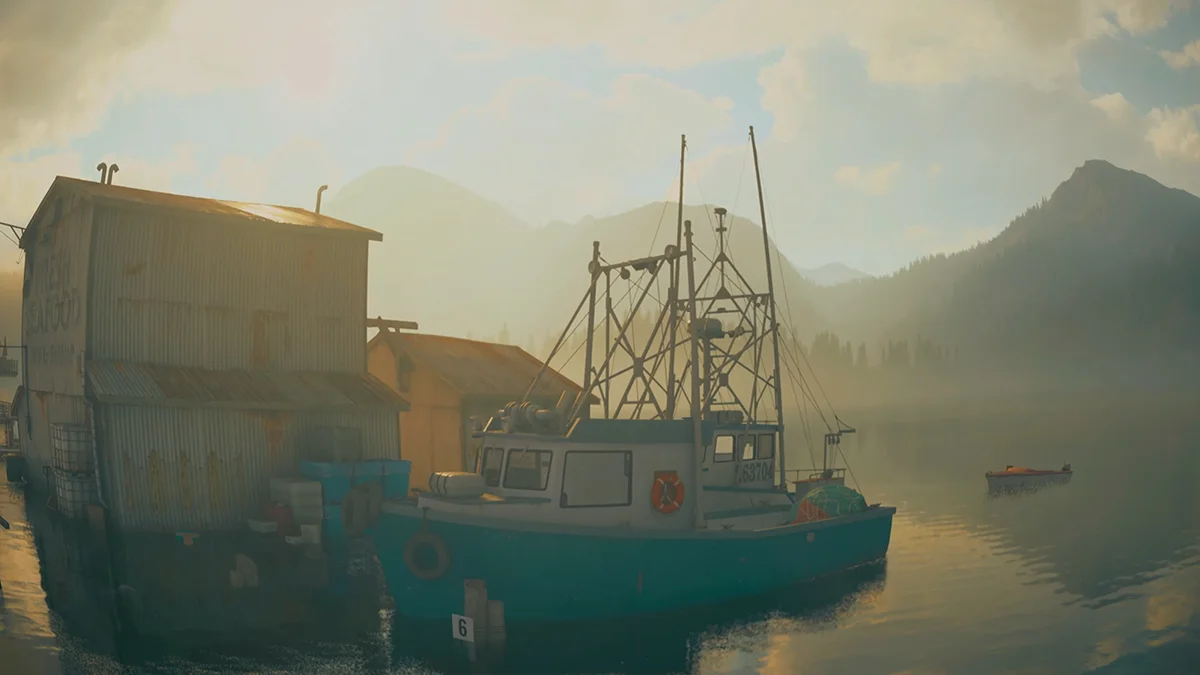
Perhaps the most interesting effect in this photo mode, Fogginess adds an increasing amount of fog to the environment. Distant at first, the fog gets gradually closer to the camera as the value is increased until it smothers the scene with claustrophobic foreboding. It's perfect to emphasise a horror vibe and works beautifully with light sources to give volumetric lighting effects.

Lighting
Alan Wake 2 features 3 separate custom lights in its photo mode, but if you are hoping that means it has a full 3-point lighting setup then you may be slightly disappointed. It is only possible to use 1 of the 3 lights at any time with each light designed to behave in a different way with specific use cases in mind.
Camera Flash:
A single light that is attached to the camera to replicate the appearance of flash photography and is most effective on relatively close subjects. This light cannot be placed anywhere else and faces in the same direction as the camera by default, though you can adjust its aim direction by tilting it using the LS.

Portrait Spot:
Specifically made for portrait lighting, this light will shine directly towards the playable character at all times. The distance between the light and character can be changed using the LS for more intense close-up lighting or softer light from further away. The RS orbits the light around them to alter the direction of lighting. Wider use is obviously limited but this is a very easy way to add light to a headshot.

Flashlight:
This light is intended to recreate the beam of light from a flashlight / torch and even includes a reflector pattern in its light spot. Easily the most versatile light of the 3, this can be freely placed anywhere in the scene with the LS and aimed in any direction with the RS. It can also be the trickiest to use though, mainly because the default position is in front of and above the playable character but facing backwards.
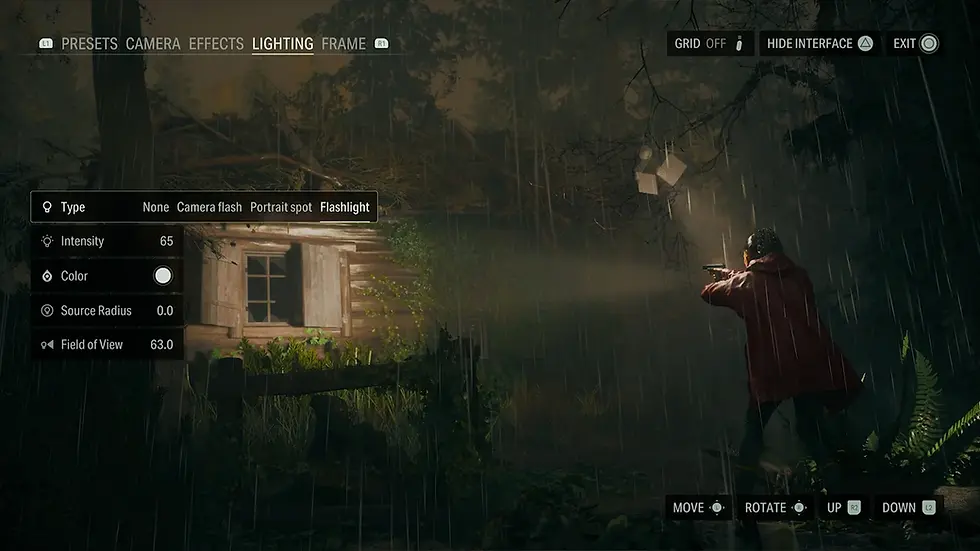
TIP: when placing a light, try pulling the camera back for a wider view to make it easier to see the light rig visualisation...
Intensity:
Controls how bright the selected light is with a higher intensity producing a brighter light that will appear harsher and more defined on a subject.
Colour:
Changes the hue of the selected light from the default white to one of three alternate colours – red, blue, or yellow.
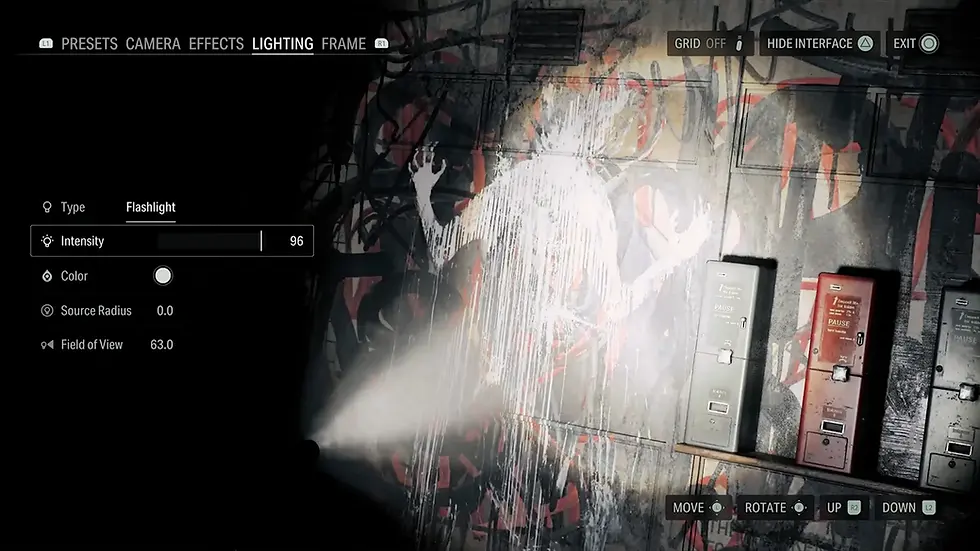
Source Radius:
Effectively the size of the light itself, a larger radius will increase the size of the lamp and hence the size of the beam of light that shines from it. This can be useful to control how much of an object is lit, or to play around with the size of the flashlight spot to give the impression of it being shone at different distances.
Field of View:
Not to be confused with the camera's field of view, this setting affects how broadly each custom light shines by changing the angle of its cone of light. Lower values will narrow the beam down to a tight circular spot and higher values make a wide beam that covers a larger area with a softer, more diffuse light.

After adding a light, be sure to change to a different section of the photo mode menu before capturing the shot. That's because the visible light rig will remain on-screen and is not hidden along with the rest of the UI.
Frames
The final section of the photo mode UI is dedicated entirely to a selection of frames, including 4 graphical overlays that give the look of different types of physical photographs, and 3 simple aspect ratios.
Polaroid:
The classic style of an instant camera photo with a large white border and square image that includes some light leak effects and surface imperfections on top.

Photo:
A pre-designed overlay in the style of a larger photograph with a white border and specs of dust over the image.
Alice Photo:
As used in the earlier Preset, this frame features a simple & borderless square photo style with crumpled edges.
Postcard:
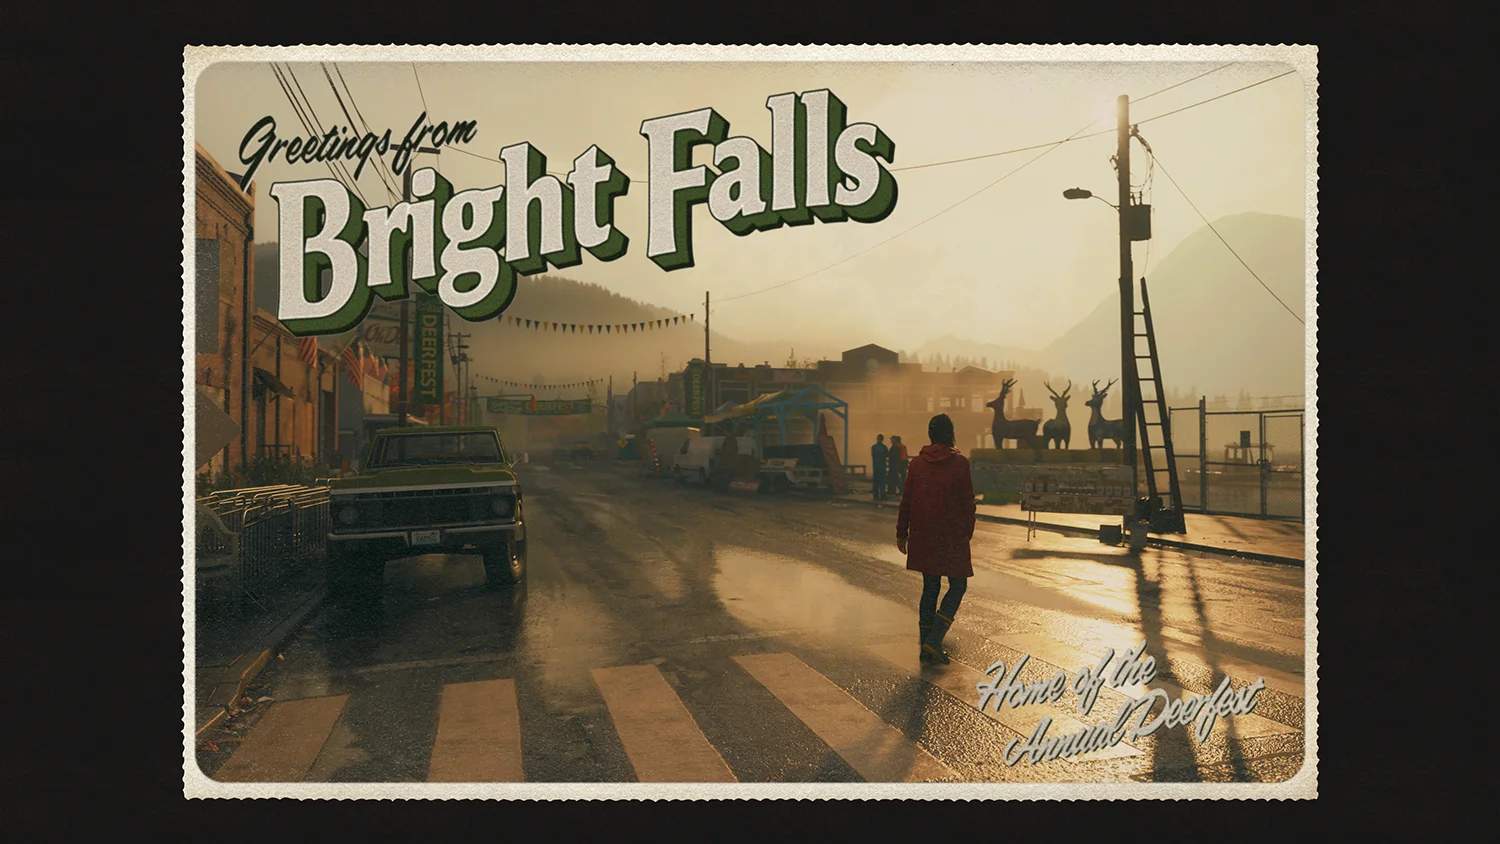
The only exception here in that this frame will show a different design depending on where you are in the game. For example, the Watery, Night Springs, and Dark Place areas each have their own individual designs that include traditional postcard and film reel frame.
1:1, 5:4, 2:1:
Simple aspect ratios that change the visible field of view from 16:9 to a 1:1 square, 5:4 photo print ratio, or 2:1 widescreen letterbox. Notice that the vertical field of view is identical in each case, including the 2:1 ratio which achieves a wider horizontal view than the default 16:9.

Other Settings
Hide Player:
Found on the Effects tab, this toggles the on-screen visibility of the playable character.
Hide Characters
Also on the Effects tab, this toggles the on-screen visibility of non-playable characters and enemies.
Grid:
An optional grid that divides the image into vertical and horizontal thirds to help with balancing your composition and positioning of key elements within the frame.

Hide UI:
Hides the entire photo mode UI – with the exception of light rigs – for a clear view of the final image before capture. Notice that it is also possible to fully navigate and adjust all settings while the UI is hidden as an extremely useful way to get an unobstructed view of the resulting changes.
Chapter Select:
Not a feature of the photo mode as such, but something that is useful to virtual photographers, there is a Chapter Select hidden in the Load save game data menu. This lets you return to any previously unlocked chapter without needing another full playthrough.
That should cover everything you need to know about how this photo mode works then, if you found it useful then please do leave a like, comment, and subscribe to the channel for more virtual photography content.
Controller Layout

Subscribe to the regular newsletter for all the latest features from TheFourthFocus.com


Great breakdown of the new Photo Mode in Alan Wake 2! It’s exciting to see how the developers have added more creative tools for players to capture the eerie atmosphere of the game. On a totally different note, while reading this, I was daydreaming about traveling and came across some cheap flights to Greenland recently—imagine taking stunning screenshots of real icy landscapes as a break from the game’s dark forests. Definitely adding Greenland to my travel bucket list!
Need help getting started with Mahadev? Simply reach out using the Mahadev ID customer care number for quick support and guidance. Whether you're looking to create a new account or have questions about your betting profile, the team is ready to assist you 24/7. For instant access to your account or games, keep your Mahadeva book number handy. If you need further help, the Mahadev book customer care number is always available to solve your queries. Mahadev makes online betting simple, secure, and user-friendly. Join today and enjoy a hassle-free gaming experience with full support whenever you need it.
Ghaziabad Escorts Service provides variety of services, such as GFE, BDSM, and role-play. Share your fantasies with us and we will bring them to life.
Your blog post really sparked my curiosity! I had never known that this topic could be this vast and informative. As we are working on Multi Gemstone Rings, we want some information and your suggestion on this topic. For a brief detail what we are into, please visit out website. We will be waiting for your new blog and your feedback for us.
What a fantastic resource! I had no idea that this topic could help boost certain qualities of mine. I can't wait to explore some more information on this topic. We are into Blue Topaz Earrings and want your suggestions, if any, regarding this. Your small information and feedback will help us a lot.